Learn how to measure population within a defined travel-time area using Population Explorer’s isochrone tool.
Overview
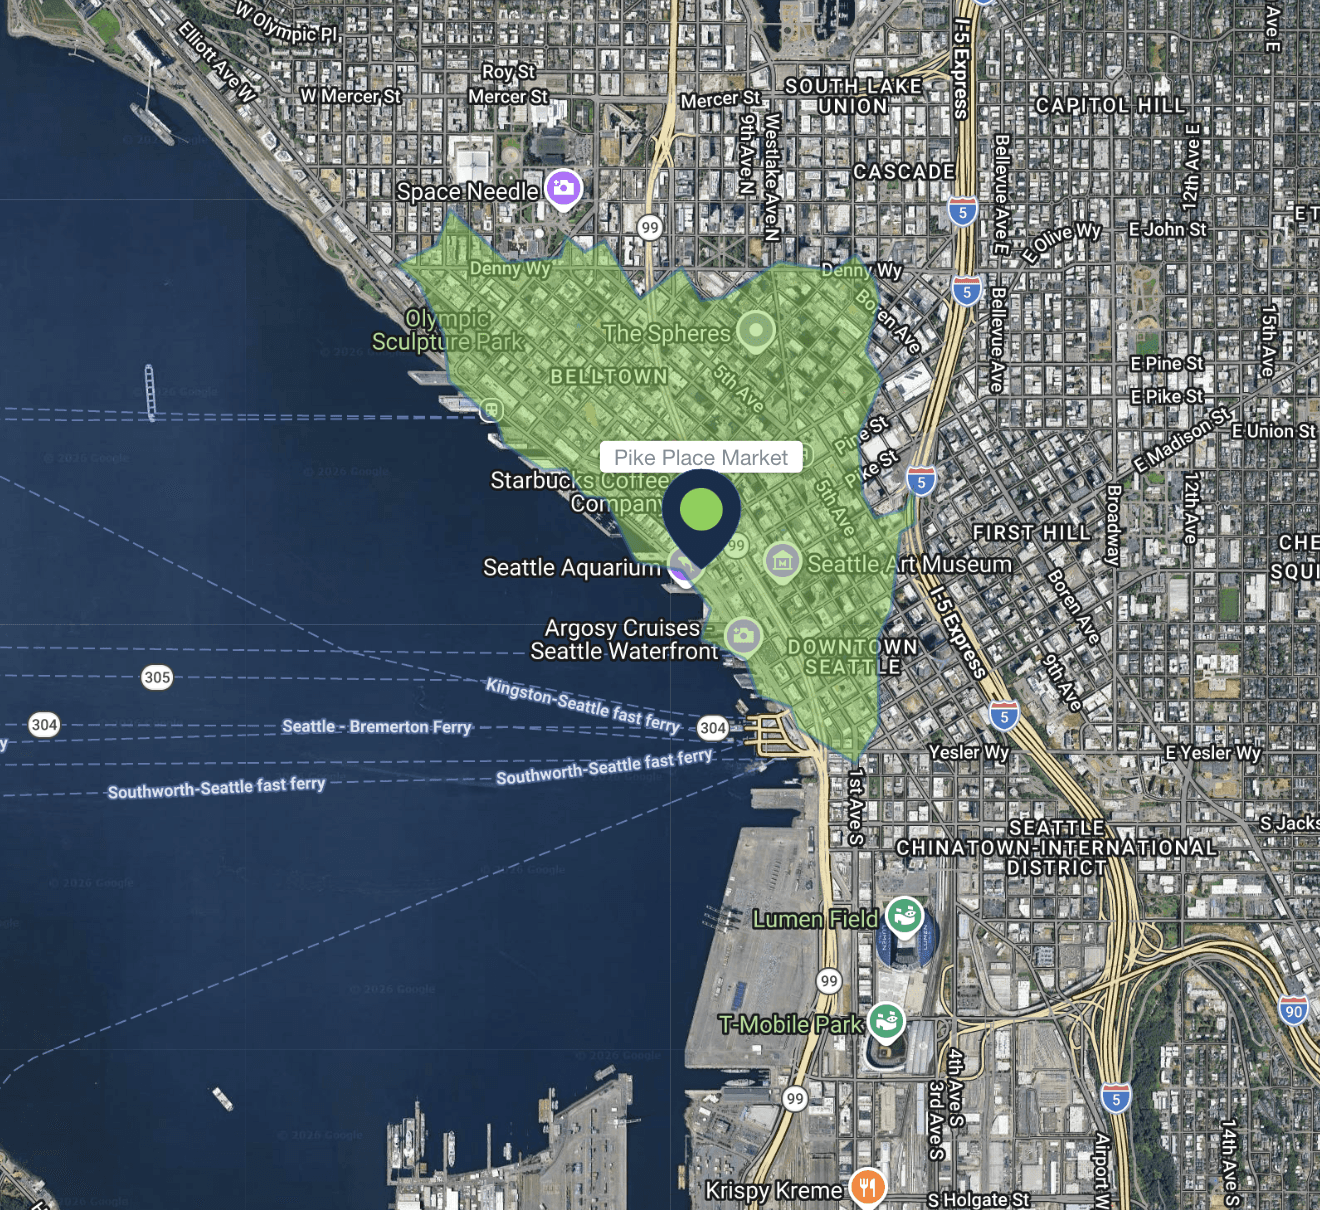
Understanding how many people can reach a location within a specific travel time is central to multiple workflows. Whether you’re defining retail trade areas, franchise territory boundaries, or balancing sales territories, PopEx lets you model population accessibility using drive-time isochrones — dynamic shapes that represent areas reachable within a given time by road.
Traditional circular buffers measure population within a fixed radius, but drive-time isochrones incorporate the actual road network and travel speeds via PopEx’s integration with the Mapbox Isochrone API. This makes them a more realistic representation of reach and service potential — crucial when analyzing urban congestion, infrastructure gaps, or rural travel times.
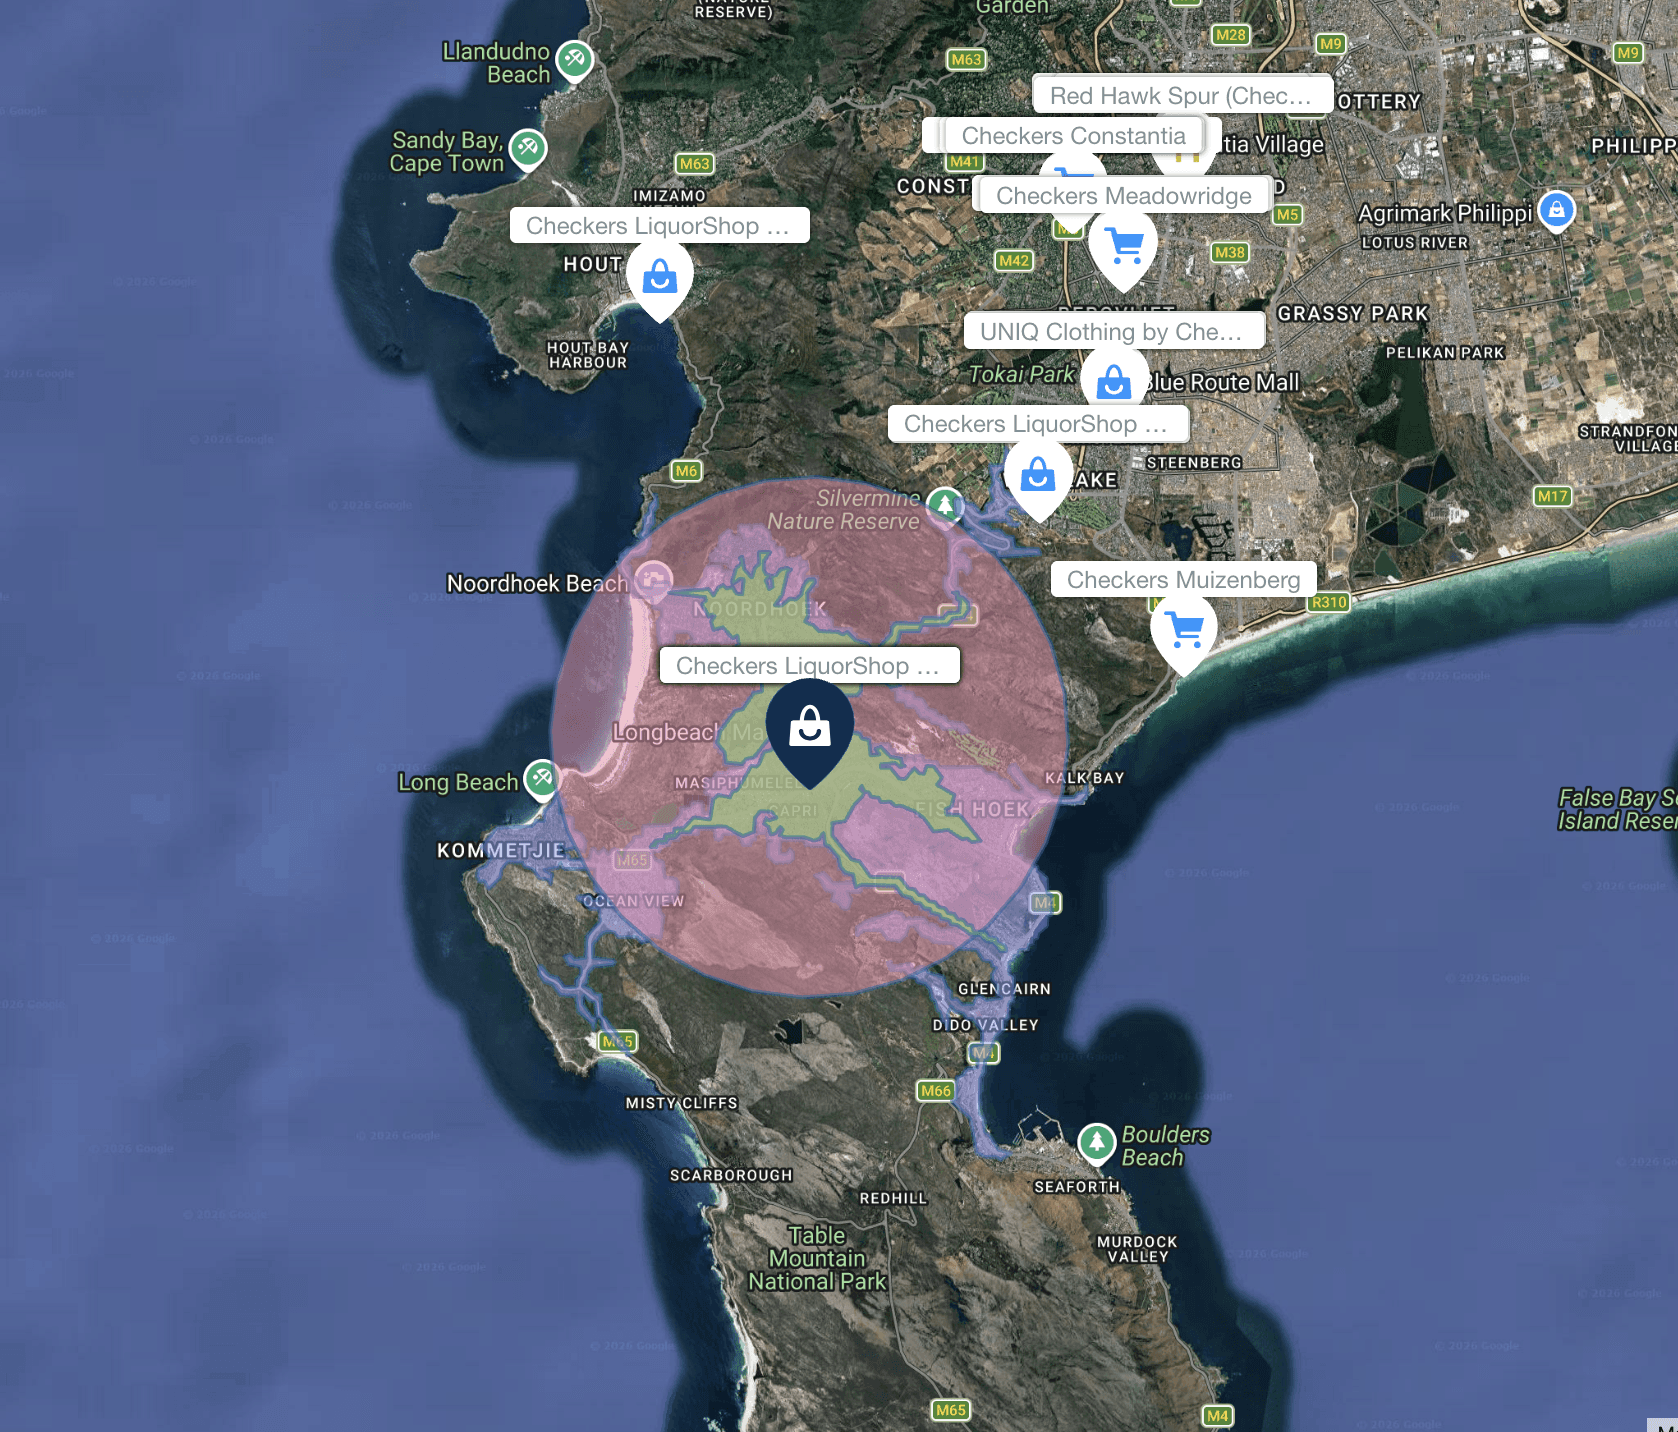
When you create a drive-time isochrone in PopEx, the system automatically intersects that travel-time polygon with the selected population dataset (LandScan or WorldPop) and returns population totals, densities, and income results directly in the item summary panel. You can also overlay Points of Interest (POIs) to understand how competitors, amenities, or facilities are distributed within your reachable area.
This combination of accessibility and demographic context turns each isochrone into a decision-making tool — a way to quantify who can reach your site, how long it takes, and what the economic potential looks like inside that zone.
Follow the steps below, or watch a quick how-to video on isochrones!
Steps
Create a Folder and Generate an Isochrone
All PopEx shapes live in folders. In the left drawer, click New → Create Folder, then New → Create Item → Isochrone. Select a point on the map (such as a store, tower, or aid center). Choose your travel mode (Driving, Walking, Cycling) and time range (e.g., 10, 15, or 30 minutes). Click Add to generate the isochrone polygon.View Population Results
PopEx immediately calculates total population, density, and income within the generated isochrone. Click the item name in your folder to open the summary panel, where these ASB values are displayed.Add POI Context
Search for Google POIs using the map search bar to visualize nearby businesses, amenities, or competitors within the same travel-time zone. Use this overlay to understand commercial saturation or service coverage.Export Results
Click Export → Excel to download population summaries, or Export → KML to use the isochrone in external mapping tools.
Verification
Confirm that your isochrone matches the expected reach based on local travel conditions — dense city centers may show smaller shapes than rural areas for the same time value. To validate population totals, generate multiple isochrones (e.g., 10-, 20-, and 30-minute) and check that the captured population scales logically between them. If POIs appear outside the expected boundary, confirm the correct layer is active in Layers → Settings.
Further reading
Calculate Population in a City — compare isochrone-based and boundary-based analysis.
Learn more about our data
Need More Help?
If you run into issues, please contact us.
Explore our latest thinking on franchise territory design, retail site selection, and the population data that powers smarter location decisions.

Jun 26, 2026
The Cornfield Effect
The cornfield effect is a systematic error in demographic analysis that occurs when census data attributes population to uninhabited areas (e.g., farmland, parks, industrial zones) within a census boundary. This distortion leads to overestimates of customer density and misguided location decisions with notable, negative impacts on franchise territory design and retail site selection. Constrained population models, such as WorldPop Global 2, eliminate the cornfield effect by assigning population only to areas where human settlements have been confirmed to exist.
May 22, 2026
You Can Create a Franchise Territory in Less Than 2 Minutes
Franchise territory mapping no longer has to mean expensive consultants, complex GIS software, or weeks of setup. Modern tools let franchisors create, evaluate, and compare protected territories in minutes.
May 22, 2026
At What Point Does a Franchise Need Territory Mapping?
Not every franchise needs rigorous territory mapping on day one. But once territory decisions begin affecting franchise sales, market protection, expansion planning, and long-term network value, the stakes change quickly.