Understand how Population Explorer combines global population, demographic, income, and POI datasets for precise spatial analysis.
Overview
Every map, buffer, and population estimate in Population Explorer (PopEx) is powered by a carefully curated combination of demographic, economic, and geospatial data sources. Whether you’re mapping drone flight paths, analyzing cell coverage, supporting humanitarian logistics, or conducting retail site selection, these datasets form the foundation of critical decisions.
PopEx blends population grids from global providers such as LandScan (Oak Ridge National Laboratory) and WorldPop (University of Southampton) with administrative boundaries, income and demographic layers, and points of interest (POIs) from trusted open and commercial sources, including Google Places and OpenStreetMap. Each dataset is standardized to a common coordinate system, normalized for projection accuracy, and cached on PopEx servers for near-instant access.
Our platform’s intelligence layer ensures that every population total, density, or demographic summary you see reflects a synthesis of the most current and accurate data available. This means that when you draw a buffer, import a boundary, or generate a drive-time isochrone, PopEx instantly intersects that shape with the underlying population grid and returns precise totals — weighted where necessary to handle partial overlaps or mixed land-use zones.
This same approach scales across industries: a telecom planner uses population coverage grids to measure service demand; a retailer compares income levels near competing POIs; a humanitarian analyst estimates people within a floodplain. PopEx abstracts the complexity of GIS data integration into a few intuitive steps, so your focus stays on analysis, not preprocessing.
How to Explore the Data Layers
1. Open the Layers Panel
Click Layers → Settings from the map viewing pane. You’ll see available population datasets organized by year.
2. Toggle Population Grids
Activate heatmaps to view population counts as shaded rasters.
3. Review Demographic and Income Layers
Review demographic overlays after creating a shape in the map viewing pane (age, gender) or income bands to evaluate purchasing power and socioeconomic diversity. These are especially useful in retail site selection and sales territory analysis.
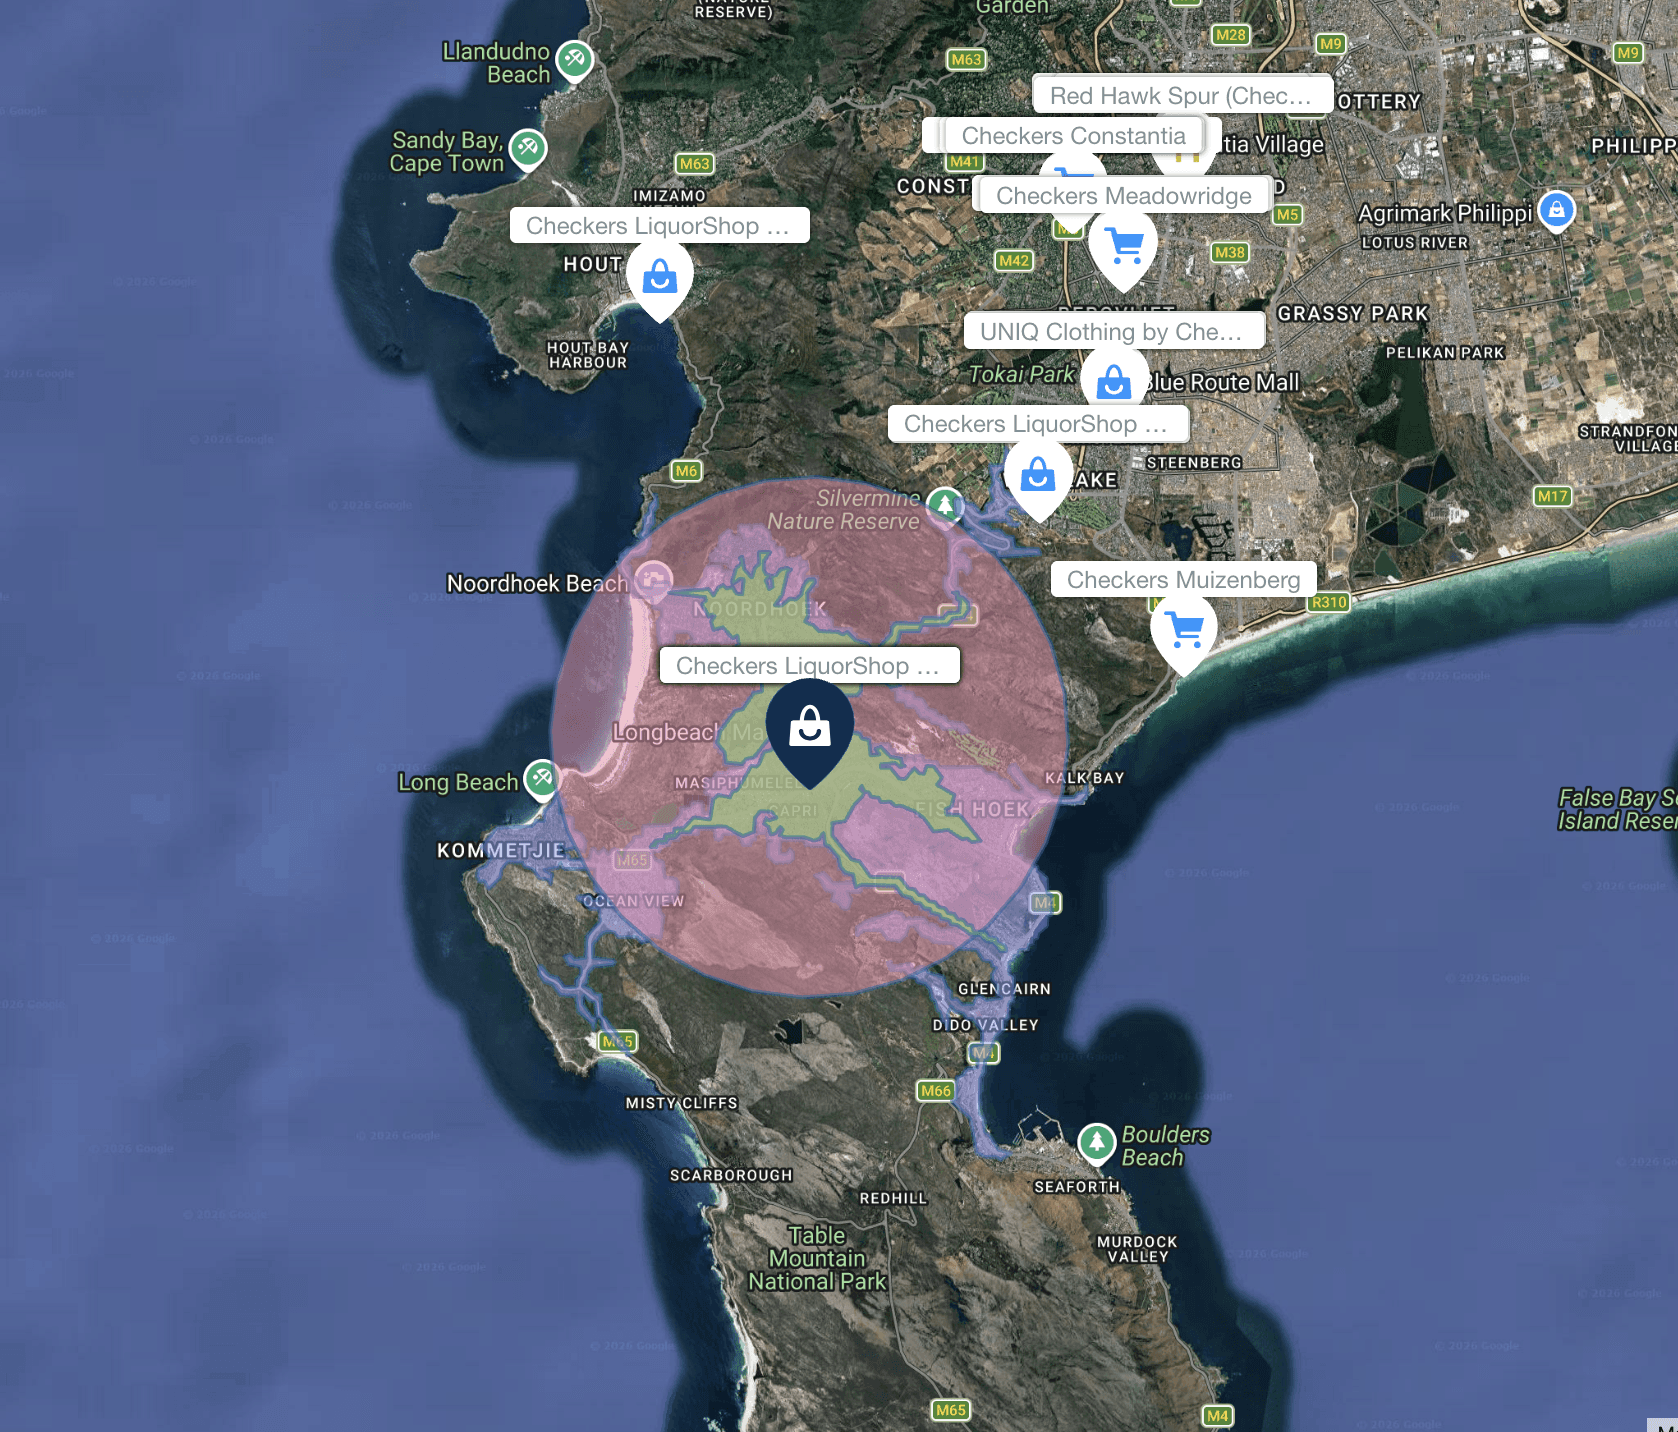
4. Add Points of Interest (POIs)
Search Google POIs to reveal nearby businesses, amenities, and competitors. In urban areas, this helps quantify commercial density and understand the competitive landscape.
Next Steps
Need More Help?
If you run into issues, please contact us.
Explore our latest thinking on franchise territory design, retail site selection, and the population data that powers smarter location decisions.

Jun 26, 2026
The Cornfield Effect
The cornfield effect is a systematic error in demographic analysis that occurs when census data attributes population to uninhabited areas (e.g., farmland, parks, industrial zones) within a census boundary. This distortion leads to overestimates of customer density and misguided location decisions with notable, negative impacts on franchise territory design and retail site selection. Constrained population models, such as WorldPop Global 2, eliminate the cornfield effect by assigning population only to areas where human settlements have been confirmed to exist.
May 22, 2026
You Can Create a Franchise Territory in Less Than 2 Minutes
Franchise territory mapping no longer has to mean expensive consultants, complex GIS software, or weeks of setup. Modern tools let franchisors create, evaluate, and compare protected territories in minutes.
May 22, 2026
At What Point Does a Franchise Need Territory Mapping?
Not every franchise needs rigorous territory mapping on day one. But once territory decisions begin affecting franchise sales, market protection, expansion planning, and long-term network value, the stakes change quickly.