Learn how to create your first folder, add an area, and visualize population, income, and POIs in Population Explorer.
Overview
Population Explorer (PopEx), provides unique power and clarity to site-selection decisions across a wide range of industries — from franchise territory mapping to telecom site planning, humanitarian response, and retail site placement. PopEx supports these diverse workflows through a shared analytical core: the ability to measure not only where people are, but also how population, income, and points of interest (POIs) define opportunity, competition, and service need.
In your first few minutes, you’ll focus on how PopEx turns geography into decision-ready data. You’ll learn to define an area of interest, measure who lives within it, and explore the social and economic context that drives its significance. Using datasets such as LandScan and WorldPop, PopEx computes population counts and densities with precision, while additional income and demographic layers reveal purchasing power, age, and household distribution. Combined with integrated Google POI data, this creates a multidimensional picture of each market — connecting people, economics, and the built environment.
This workflow underpins every content cluster within PopEx. Retail and franchise users map potential trade areas; sales operations balance territories based on coverage and revenue; telecom teams assess service reach against demand; and humanitarian planners model population access to aid facilities. In all cases, the process begins with the same set of steps you’ll take in your first session.
Steps
1. Create a Folder
In the left drawer, click New → Create Folder. Give it a clear name (for example, “Site A Test” or “Sales Region West”). This folder acts as a container for your geographic analyses.
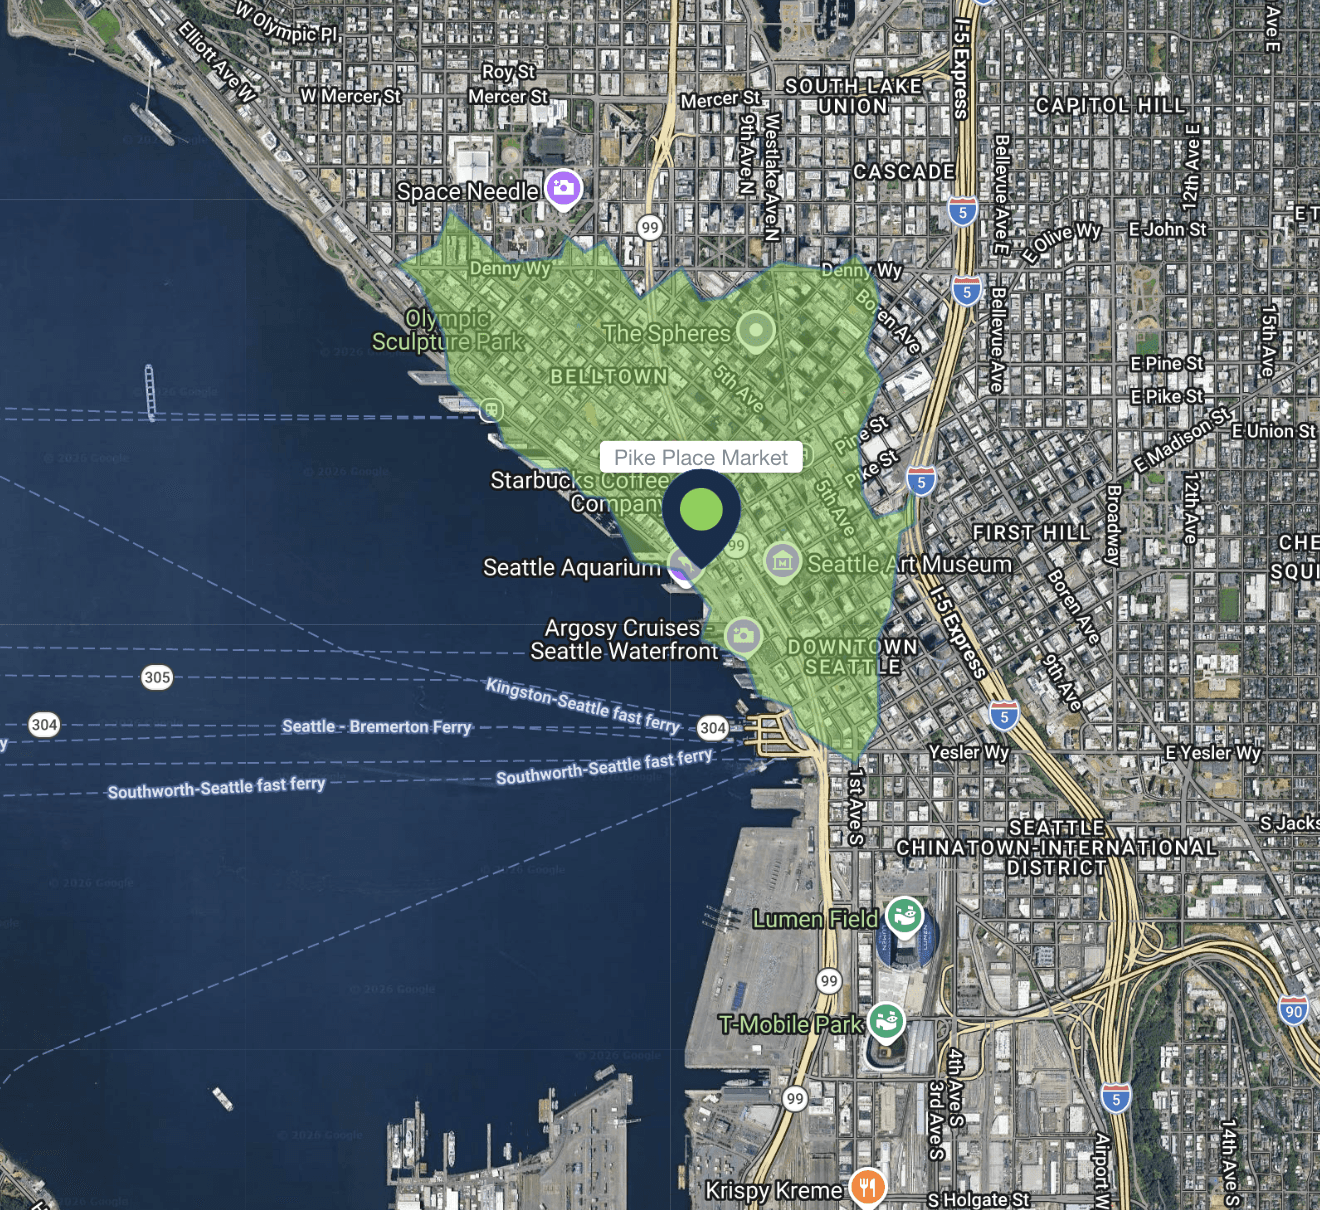
2. Add Your First Area
With your new folder selected, click New → Create Item and choose how you want to define your area:
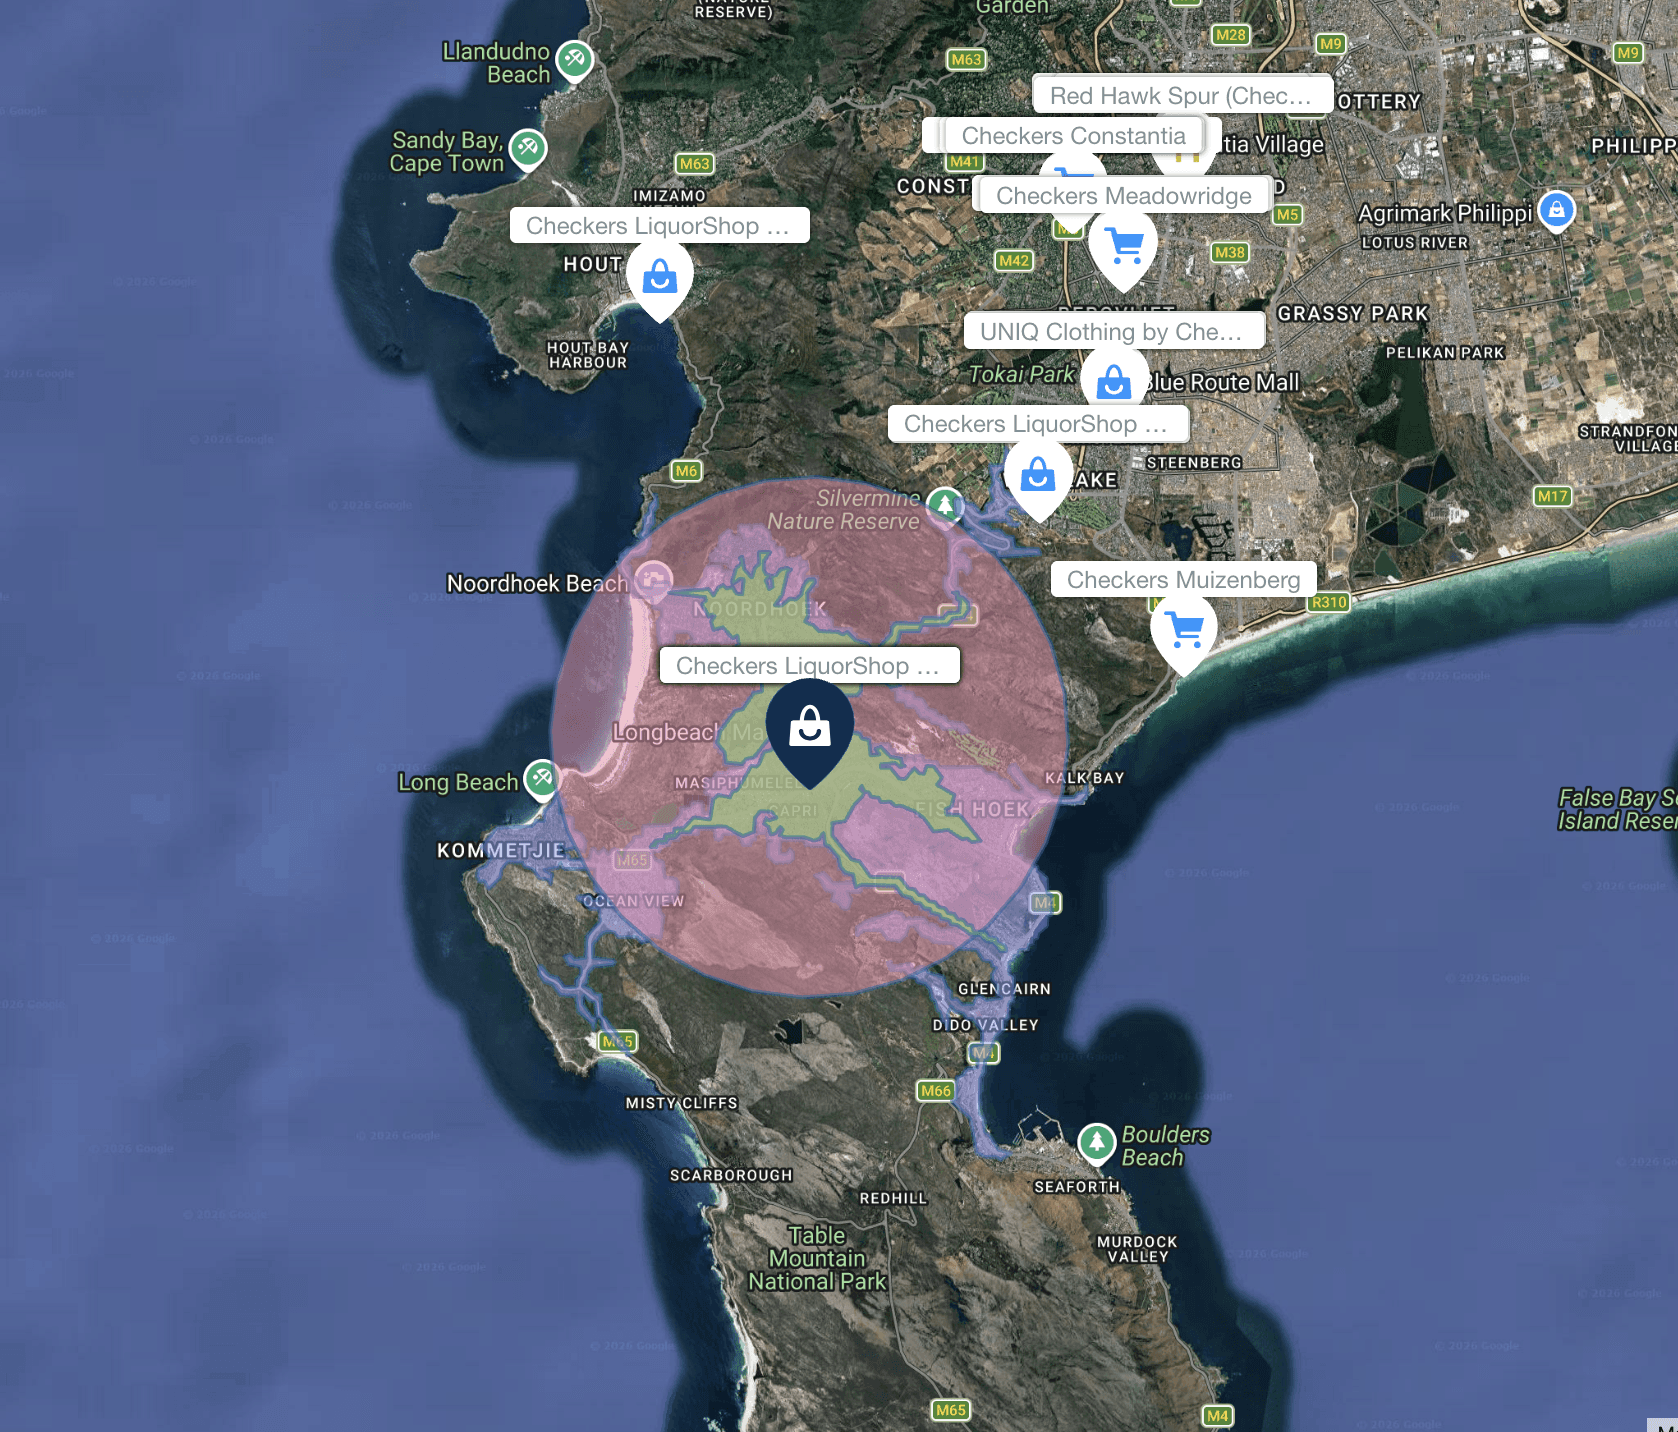
Buffered Point — Drop a single point and set a radius to analyze nearby population.
Custom Polygon — Draw boundaries manually around a target region.
Import Shape / Upload — Upload an existing boundary file (KML, GeoJSON, or shapefile).
Each option instantly creates a geometry on the map and links it to population and income datasets.
3. Select Data Layers
Open Layers → Settings and choose your active datasets. Toggle between LandScan or WorldPop to see population counts, or add income and demographic overlays to explore purchasing power and household characteristics. Enable Google POIs to visualize nearby businesses, competitors, or essential facilities.
4. View Results and Export
Click your new item to open the summary panel. Here you’ll see total population, density, and income indicators. When ready, click Export → Excel or Export → KML to save your results for comparison or reporting.
Verification
Verify that the population and income totals in your exported Excel file match those displayed in the summary panel. Check that the POI layer aligns logically with your region (for example, major commercial areas should contain higher POI density). If data looks inconsistent, confirm that the correct year and dataset are selected in Layers → Settings.
Next Steps
Need More Help?
If you run into issues, please contact us.
Explore our latest thinking on franchise territory design, retail site selection, and the population data that powers smarter location decisions.

Jun 26, 2026
The Cornfield Effect
The cornfield effect is a systematic error in demographic analysis that occurs when census data attributes population to uninhabited areas (e.g., farmland, parks, industrial zones) within a census boundary. This distortion leads to overestimates of customer density and misguided location decisions with notable, negative impacts on franchise territory design and retail site selection. Constrained population models, such as WorldPop Global 2, eliminate the cornfield effect by assigning population only to areas where human settlements have been confirmed to exist.
May 22, 2026
You Can Create a Franchise Territory in Less Than 2 Minutes
Franchise territory mapping no longer has to mean expensive consultants, complex GIS software, or weeks of setup. Modern tools let franchisors create, evaluate, and compare protected territories in minutes.
May 22, 2026
At What Point Does a Franchise Need Territory Mapping?
Not every franchise needs rigorous territory mapping on day one. But once territory decisions begin affecting franchise sales, market protection, expansion planning, and long-term network value, the stakes change quickly.